Building First Animations in Scratch Jr: A Guide for Kids
Last updated: 26/12/2023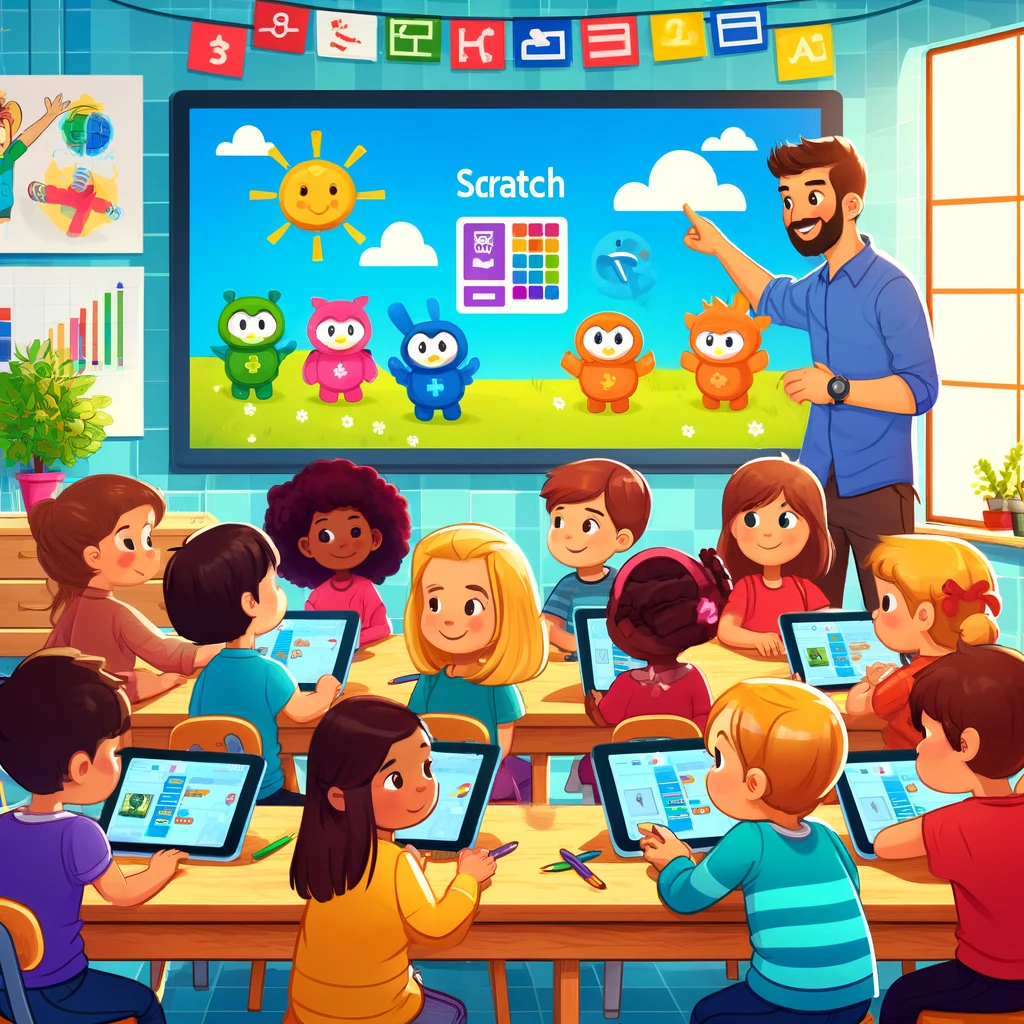
When you first start using Scratch Jr., one of the most exciting things to do is create your own animations! Animations are like little movies that bring your projects to life, and they're so much fun to make. In this blog post, we'll explore how to build your first animations in Scratch Jr.
Creating a Simple Animation
The first step in creating an animation is to start with a blank canvas. Click on the "New" button at the top of the Scratch Jr. screen to open up a new project. You can choose from different themes or backgrounds, but for now, let's just stick with a plain old stage.
Next, you'll need to add some sprites (characters) to your animation. Scratch Jr. comes with some built-in characters that you can use, like cats and dogs. Choose one of these characters and drag it onto the stage. You can resize and reposition the sprite as needed.
Now that you have a character on the stage, let's make it move! Click on the "Motion" tab in the left-hand menu bar and choose an action from the drop-down list, like "Move 10 steps." This will make your sprite move across the screen. You can adjust the distance or direction of the movement to get the effect you want.
Adding More Details
Your animation is starting to come along! But let's add some more details to make it really pop. Click on the "Looks" tab in the left-hand menu bar and choose a costume from the drop-down list. This can be anything from a hat to a pair of glasses – it's up to you!
Now that your sprite has a new outfit, let's add some more animation power! Go back to the "Motion" tab and click on the "Change Y by 10" action. This will make your sprite bounce up and down, like it's jumping with excitement.
Putting it All Together
You've got your sprites moving and changing, but what about sound effects? Scratch Jr. lets you add music and sounds to bring your animation to life! Click on the "Sounds" tab in the left-hand menu bar and choose a sound effect from the drop-down list. You can adjust the volume or timing of the sound to get the right feel.
Now that you've added all these elements, it's time to put them together in your final animation! Click on the "File" menu at the top of the Scratch Jr. screen and choose "Share Project." This will let you save your project and share it with others – or even post it online!
In this blog post, we've covered the basics of creating a simple animation in Scratch Jr. Remember to keep experimenting and trying new things to bring your animations to life! Happy coding!